Recap:
The PC in question was originally assembled around 2009 with the purpose of being used as an HTPC. Originally it ran Windows Vista Ultimate, primarily in Windows Media Center. It had Blu-Ray, TV tuner, HDMI output, and Microsoft IR receiver. It was retired after I purchased a Roku Stick. Then various parts were taken for other systems and it was left sitting in a sad disassembled state.
I performed an initial inventory and determined that for starters I needed a CMOS battery and thermal paste. That cost $10.
It also needed a DVD drive, but I had one sitting on a shelf. The DVD drive's status was questionable, but it would be worthwhile to try it.
Reassembly Begins:
After receiving my Amazon package of Arctic Silver thermal paste and CR2032 lithium battery, I was ready to begin. Previously I had completed the disassembly of the system so it could be cleaned up as much as canned air could.
- I reinstalled the RAM and the serial port connector bracket and connected the ribbon cable to the header and installed blank back slot covers
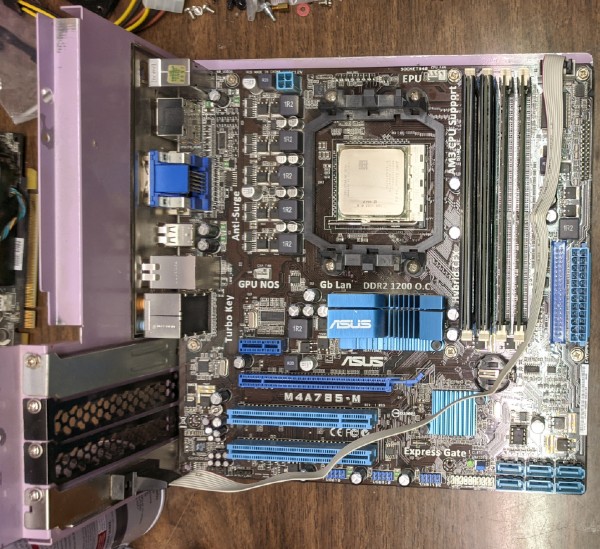
- I installed the DVD drive and hard drive

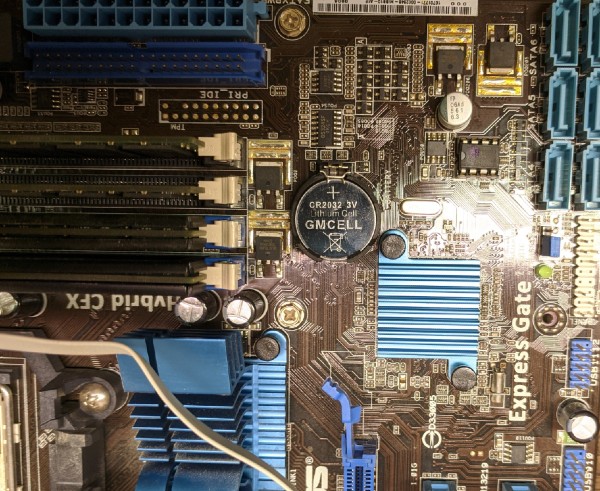
- Popped in the CMOS battery
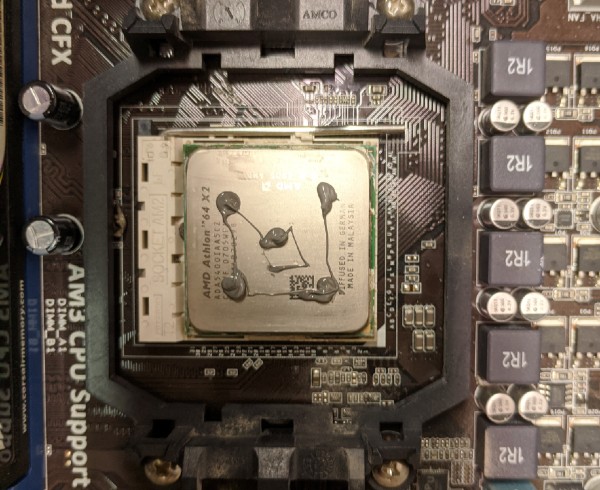
- Applied thermal paste to the Athlon
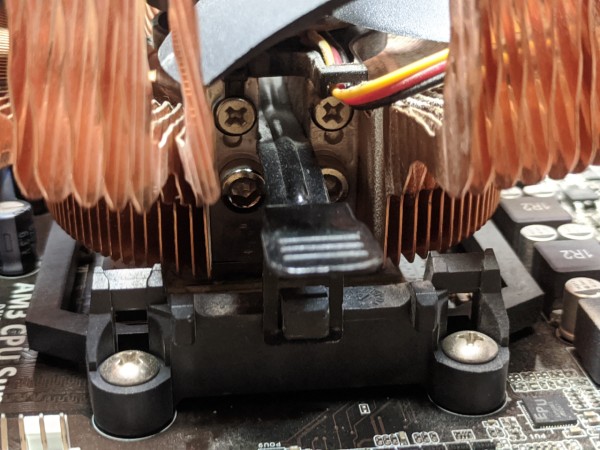
- Carefully installed the low profile Ultra CPU heatsink/fan

- Installed the system tray into the chasis
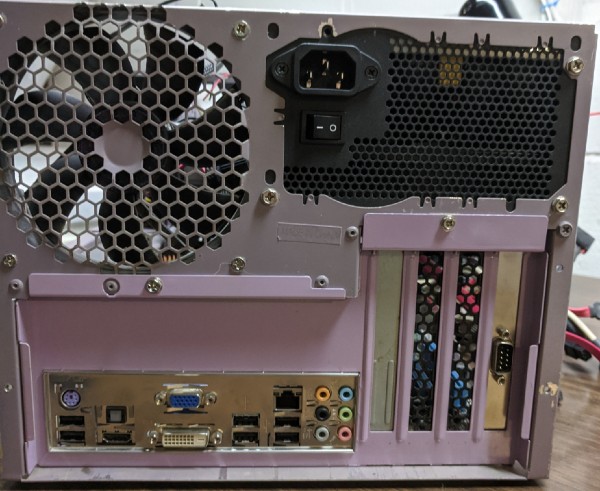
- Connected the 24-pin power connector to the motherboard
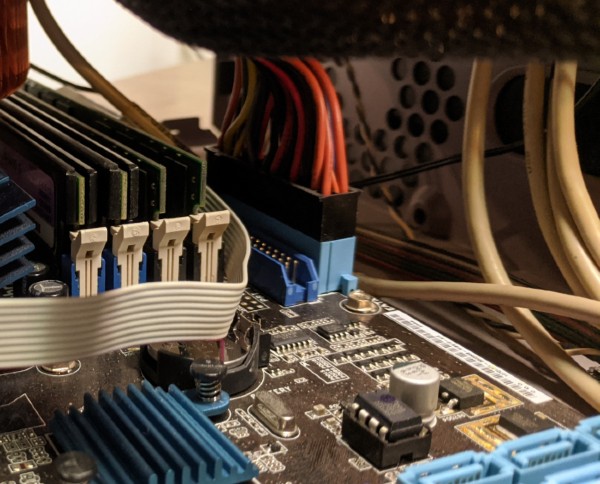
- Connected the 4-pin power for the CPU
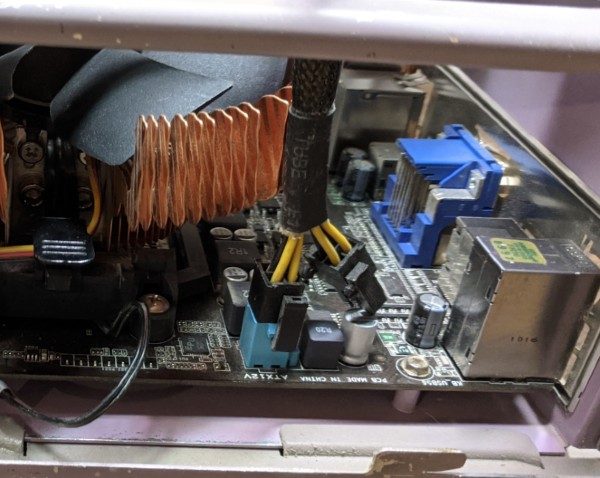
- Connected the USB, Audio, front-panel, and SATA cables to their headers.
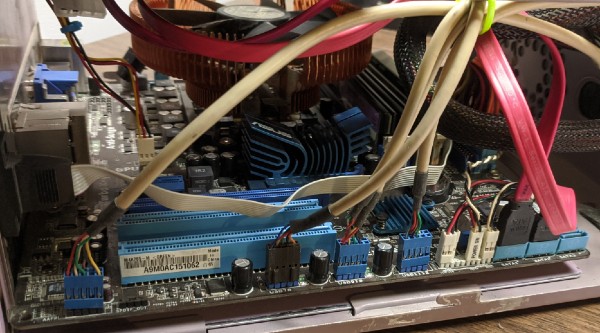
Initial Powerup:
Now with the computer fully assembled for the first time in about four years, it was time to see if I had just wasted $10 and a couple hours.
I hooked the system up to my KVM and attempted to power up the system.
- CPU and case fans started up
- Activity lights for the hard drive and DVD drives on
- No beep codes
- No beeps at all!
- No video!
Time to Troubleshoot:
Disappointment indeed. As long as I wasn't listening for the initial single boot-up beep or the BIOS splash screen, or even Windows, to show on my monitor, it seemed ok. Obviously, this was not the desired results.
I had not installed the XFX GeForce 9400GT card, as the motherboard has onboard video and just basic graphics are needed. I would not be playing games or anything.
So, I took the system back to the workbench and installed the video card, with the thought that maybe I had disabled the onboard video with a hidden jumper or something.
Second attempt to boot yielded the same results.
Now with a slight groan, I took the system back to the workbench, and this time attempted No POST/No Boot Troubleshooting 101.
- Disconnected all cables to the motherboard
- Removed motherboard tray from the case
- Removed all RAM
- Connected motherboard and CPU power
- Connected front panel power switch
- Powered up
- Light came on motherboard indicating power
- CPU fan spun up
- No beeps!!
Great! Total loss! Waste of time!
Or those were some of my initial thoughts.
I sighed and walked away. Knowing that in general if you remove everything and try to boot, but do not get any beep codes, that indicates either motherboard or CPU failure or both.
I spent about an hour or so searching for a CPU motherboard combo that wouldn't shatter my $50 budget before I gave up that thought.
Finally it dawned on me - no beeps.... I forgot to reconnect the speaker after disconnecting everything!
I reconnected the speaker and tried to power up again. BEEP CODES!!! The system recognized that there wasn't any RAM installed!
Now, one-by-one, I reinstalled the RAM. After each stick going in, tested.
It turned out that I had one bad stick of Kensington RAM! Ok, so this will drop the system to 3GB. I can live with that for now.
Next Phase:
The system has been mostly reassembled now and just needs a working DVD drive, and a matched pair of 1GB DDR2 to replace the bad Kensington RAM. So, back to Amazon.
I was able to order a new ASUS DVD burner for about $20, and for another $20 a pair of Corsair MX2 1GB DDR2 - the same model as I already had. With that RAM, all 4 banks will have the same spec RAM. Now I have to be extremely careful, as I just used up my budget.
With Amazon Prime, I was able to get free quick shipping on the DVD drive, but the RAM will take 2-3 weeks.
Due to the timing of the shipments, I will be installing the drive once it arrives and move on with testing the system and determining which Operating System to install.

